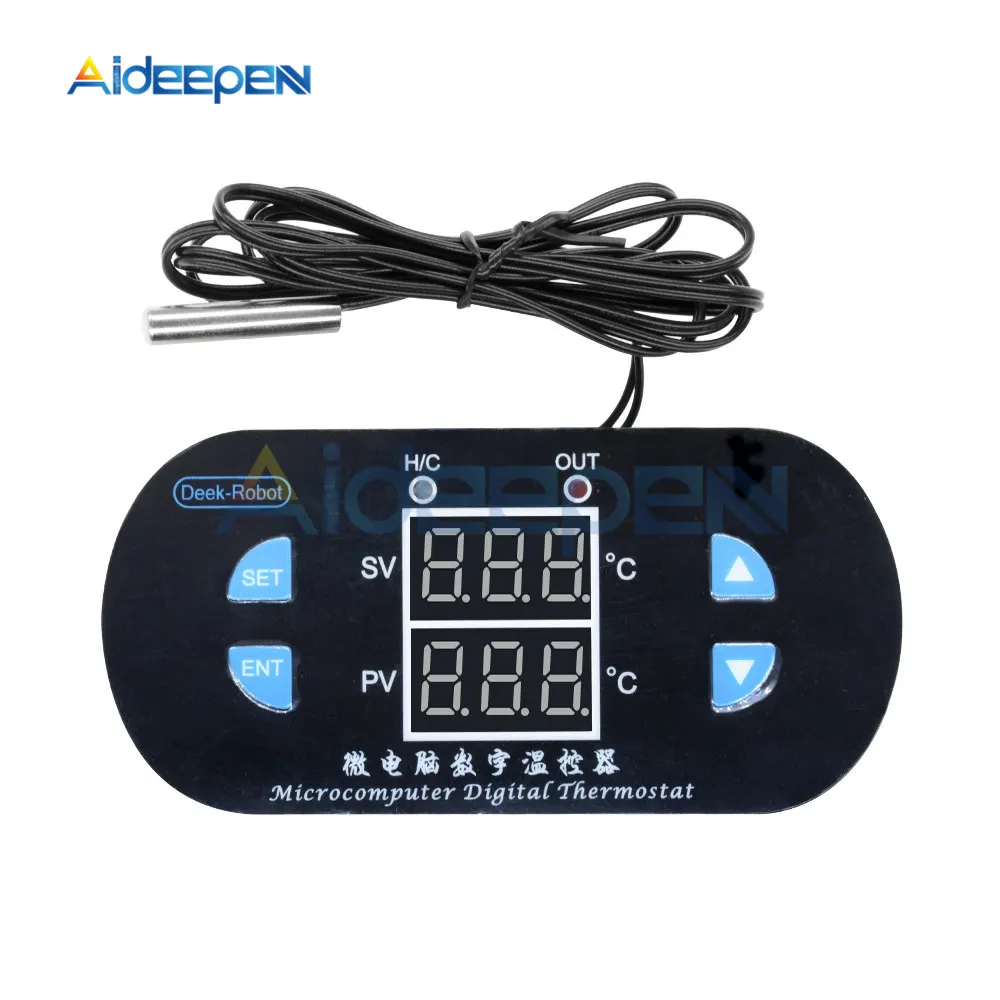
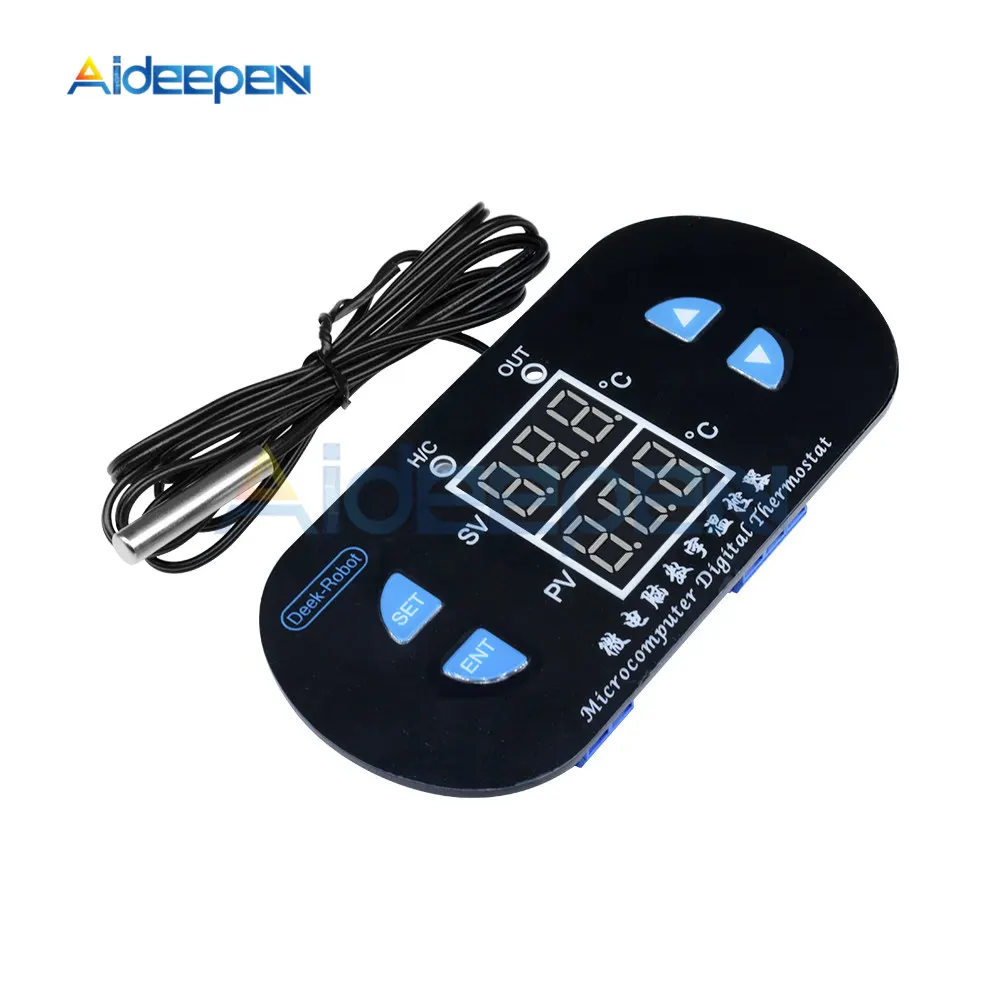
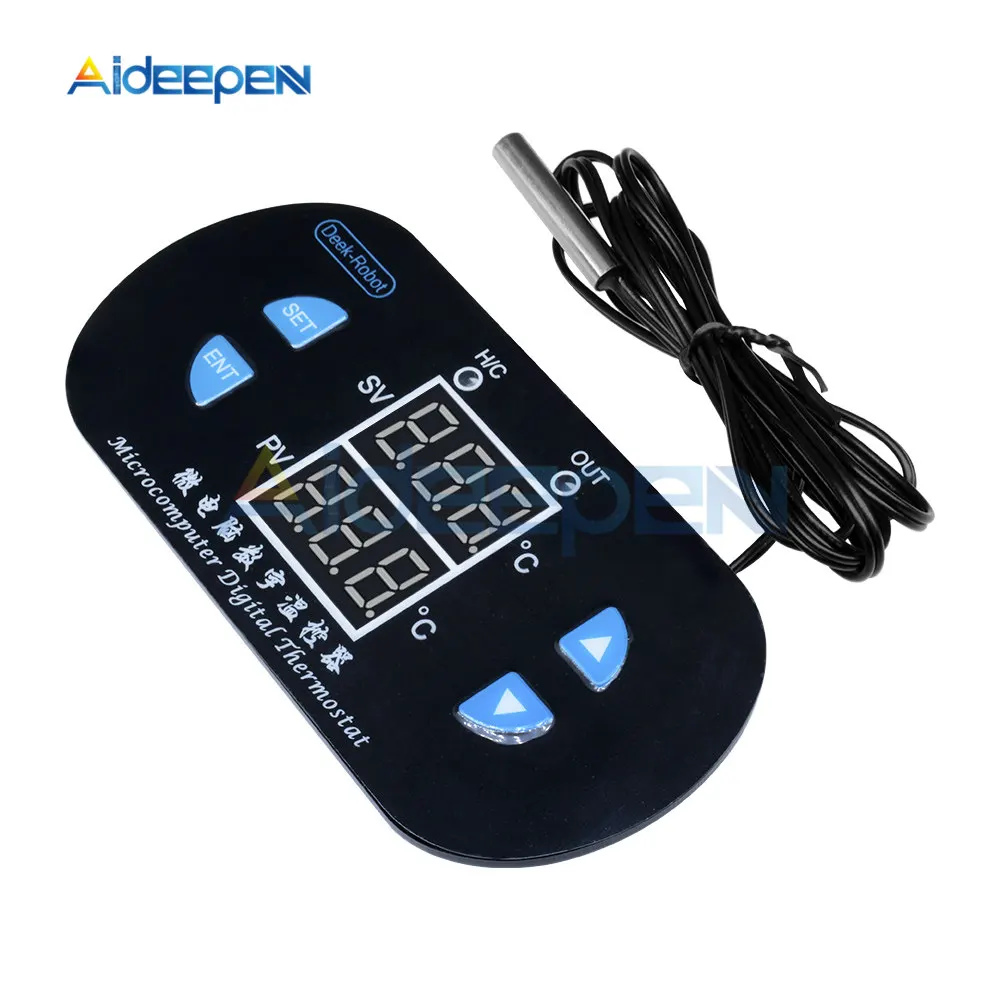
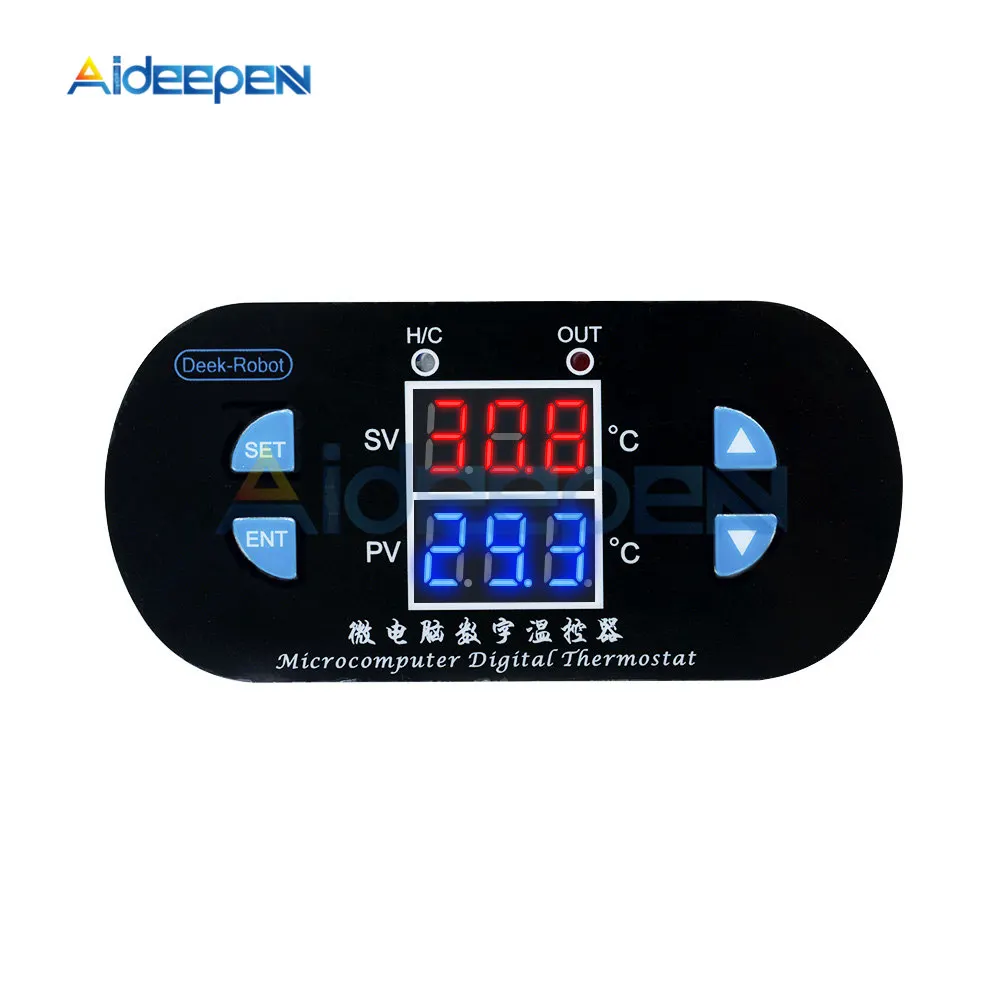
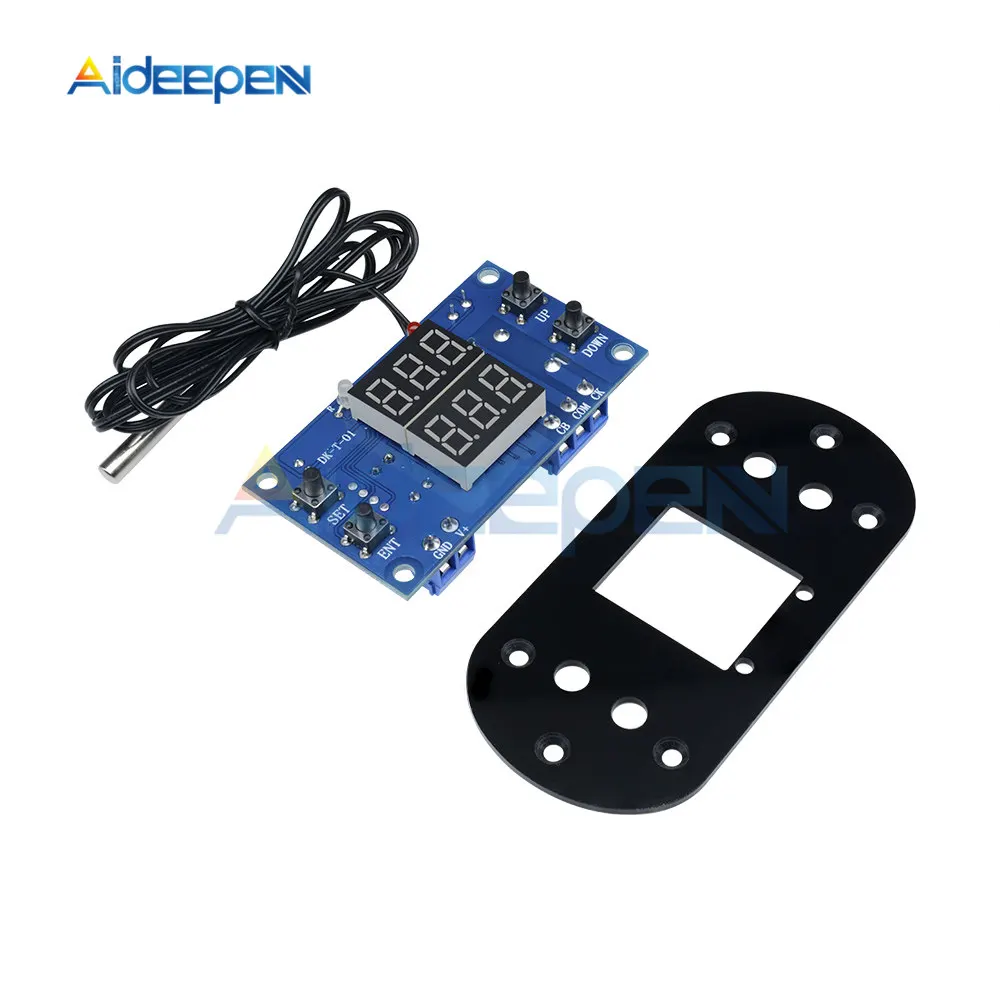
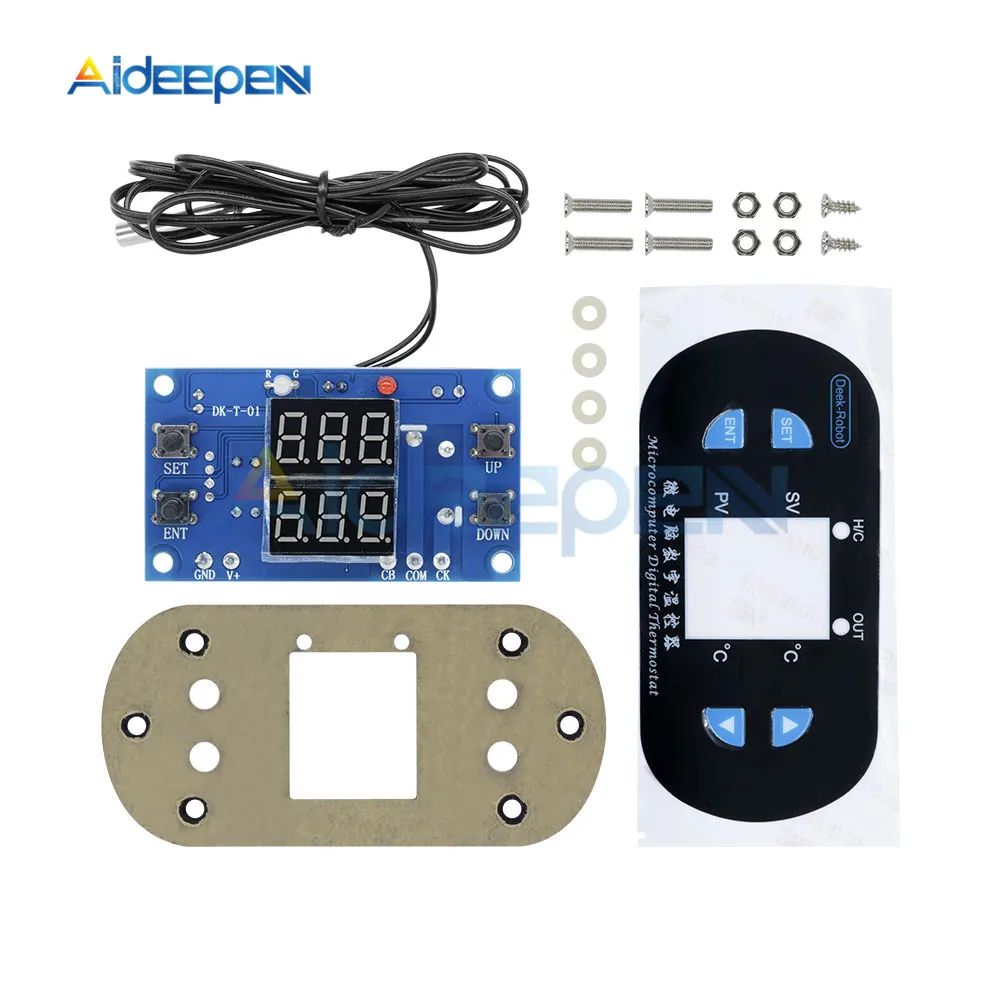
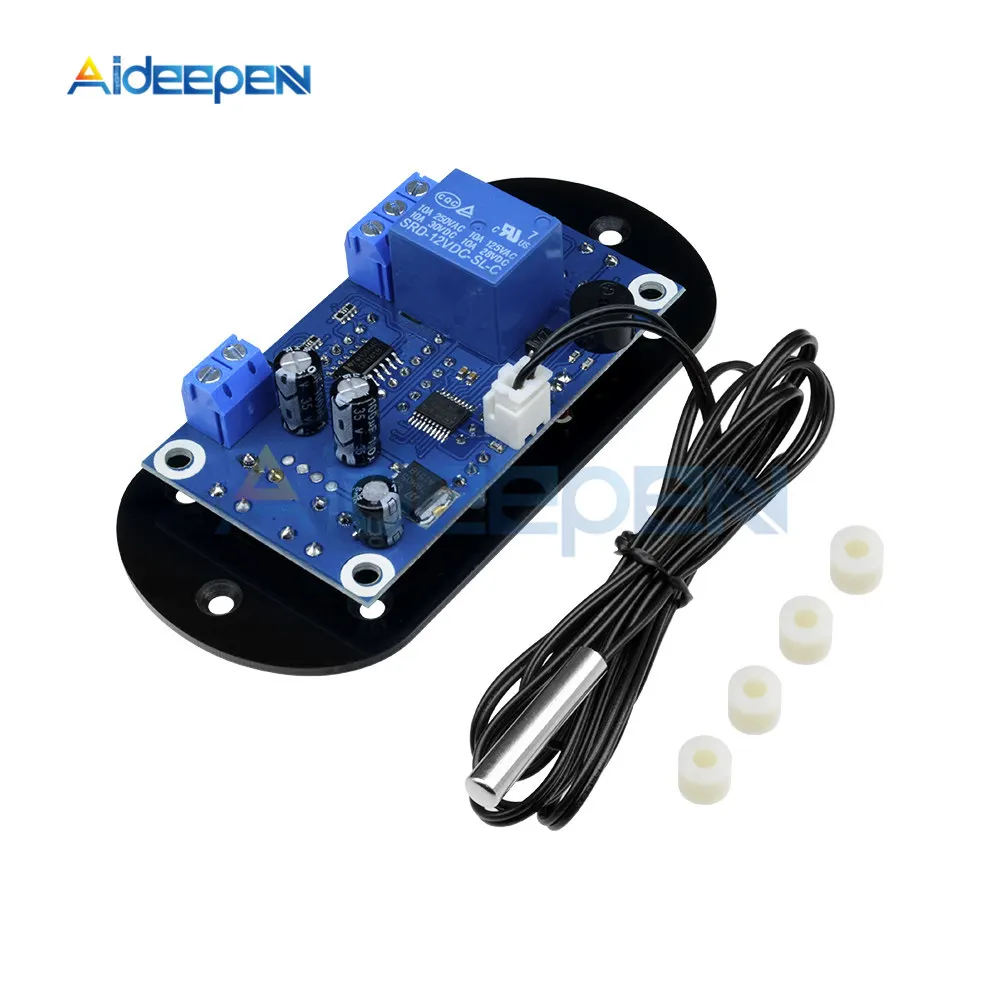
Description:
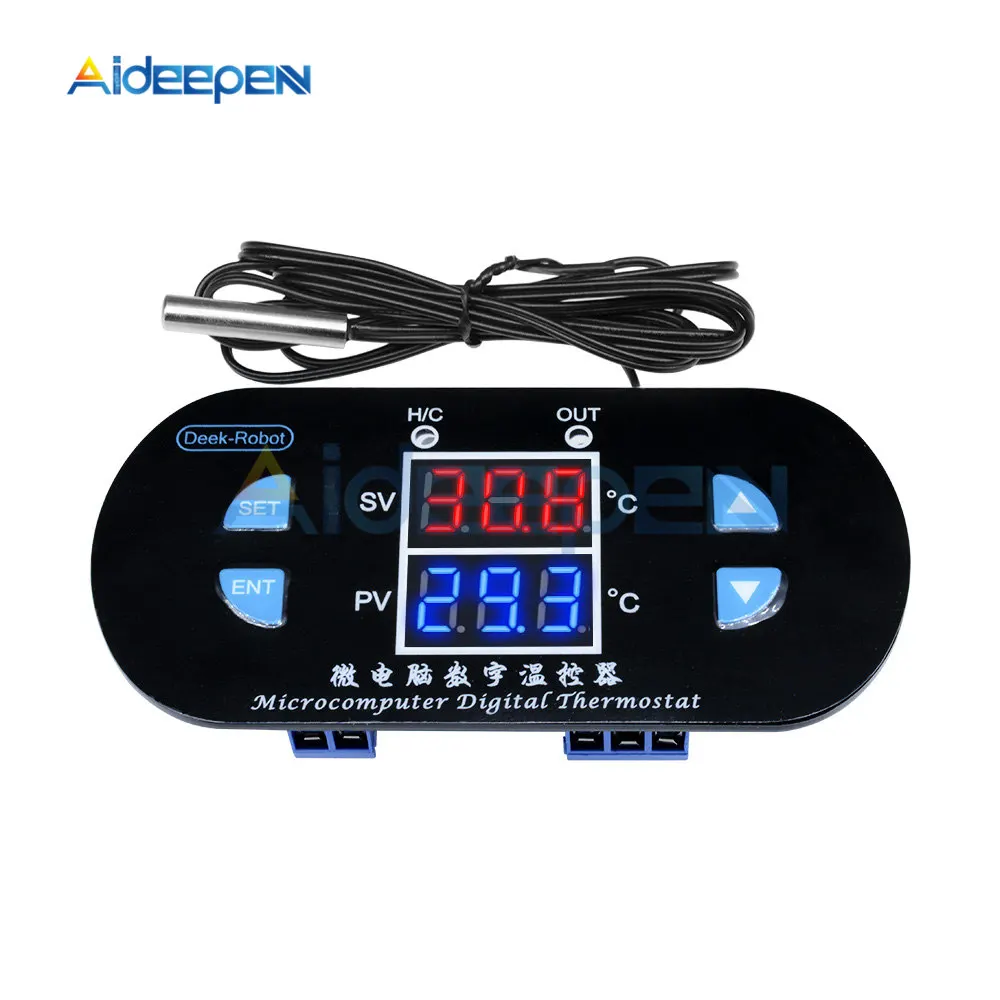
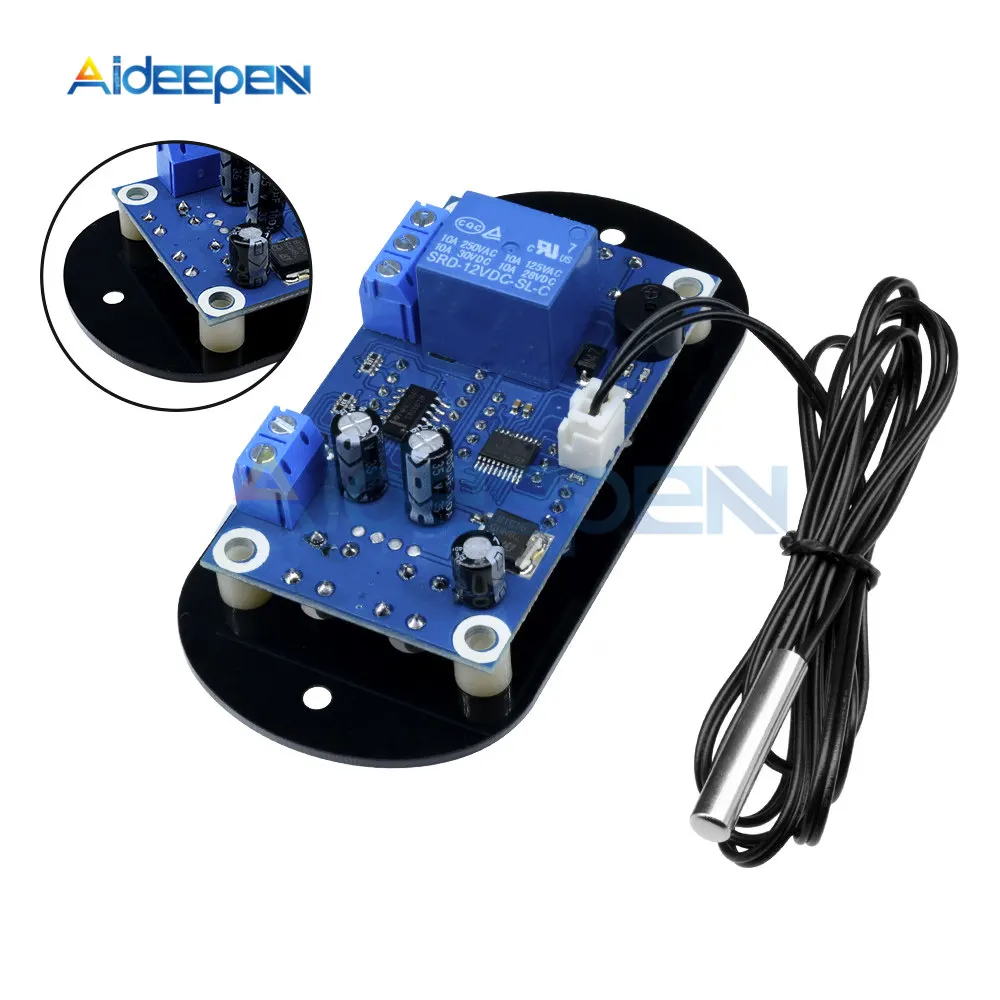
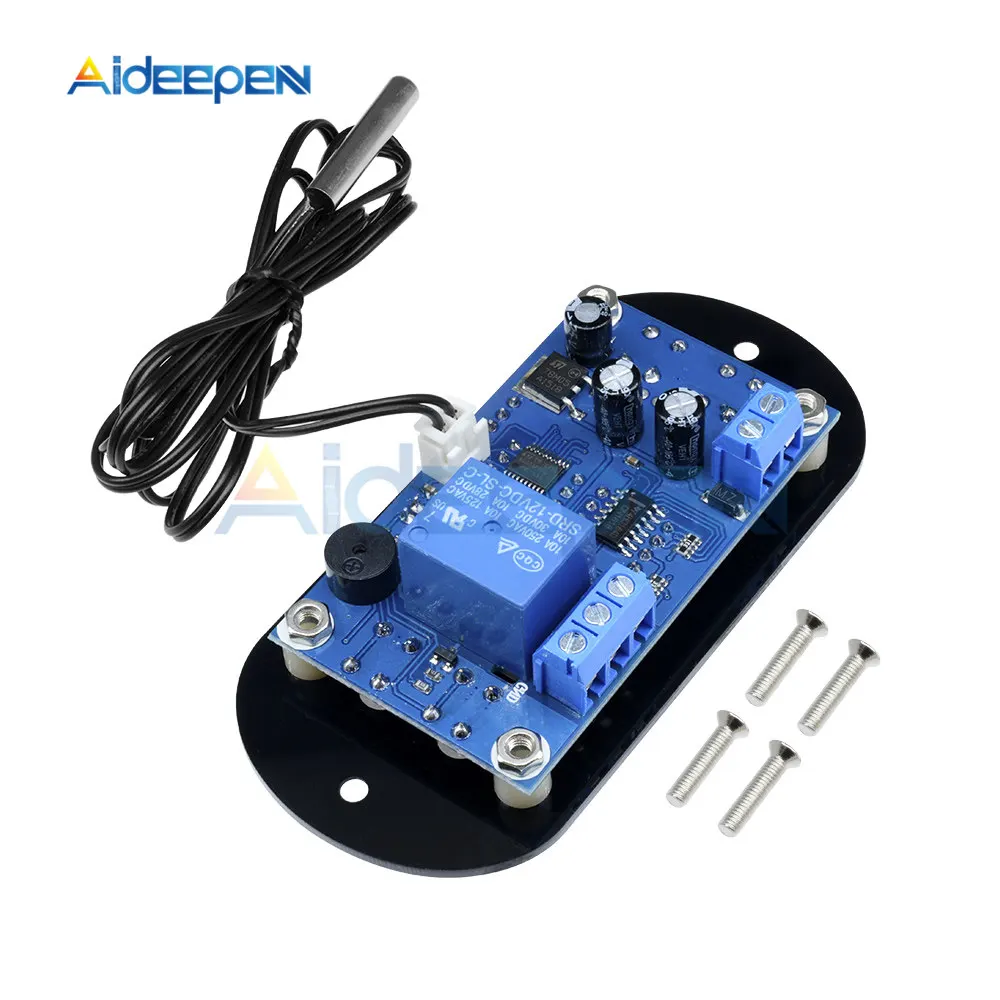
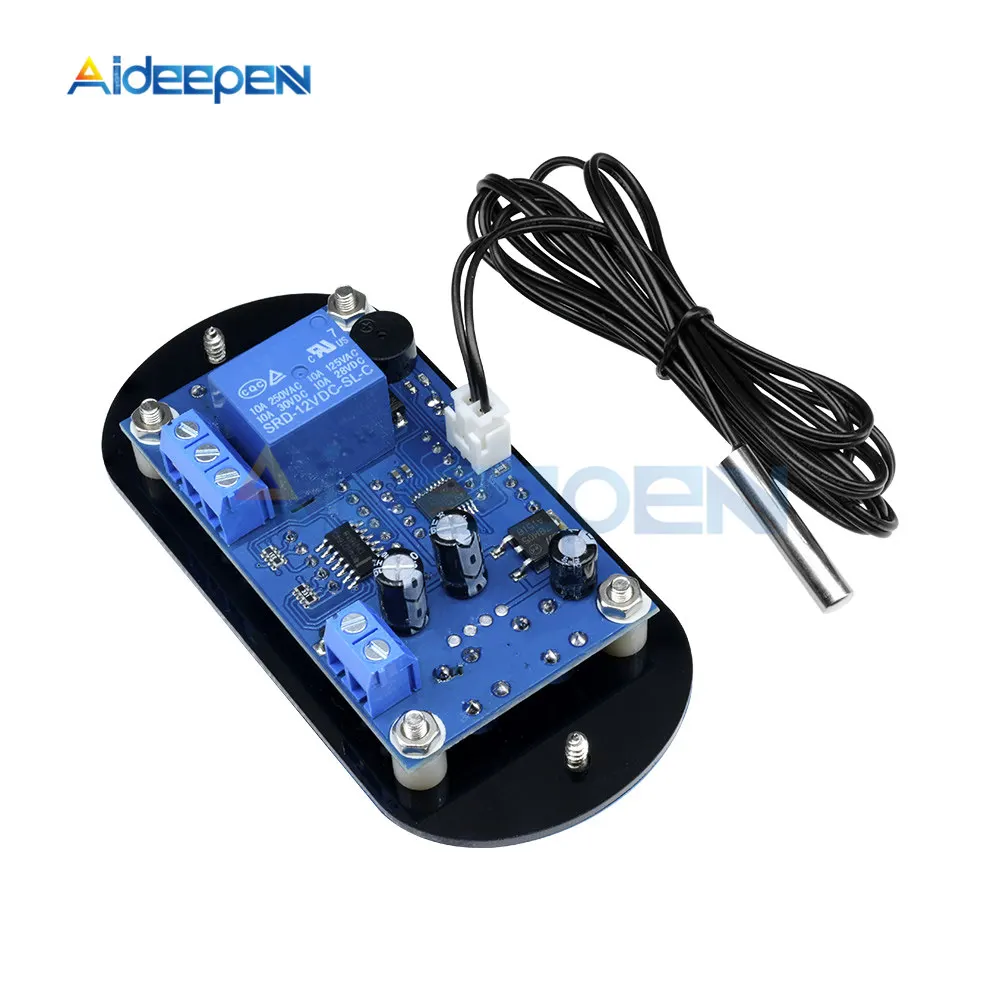
1. Connect the power supply and load according to the instructions. Be careful not to overpressure and overload!
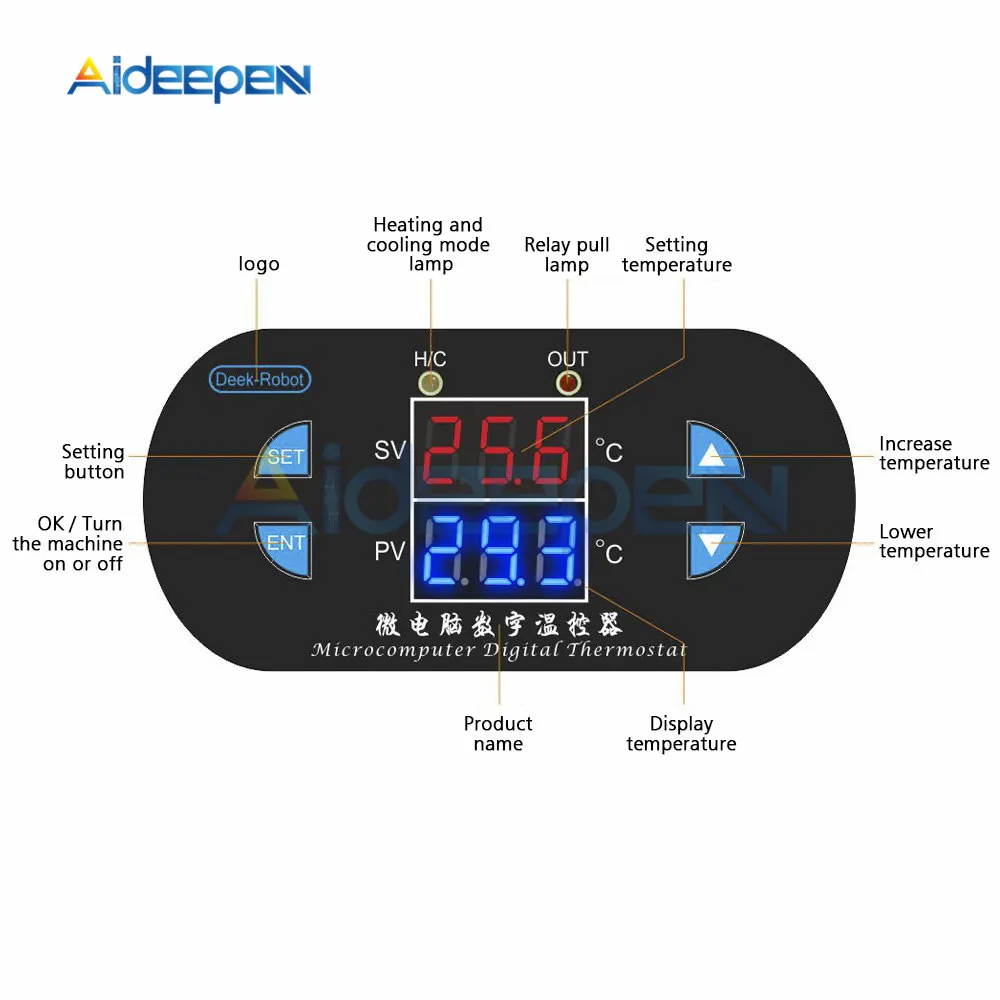
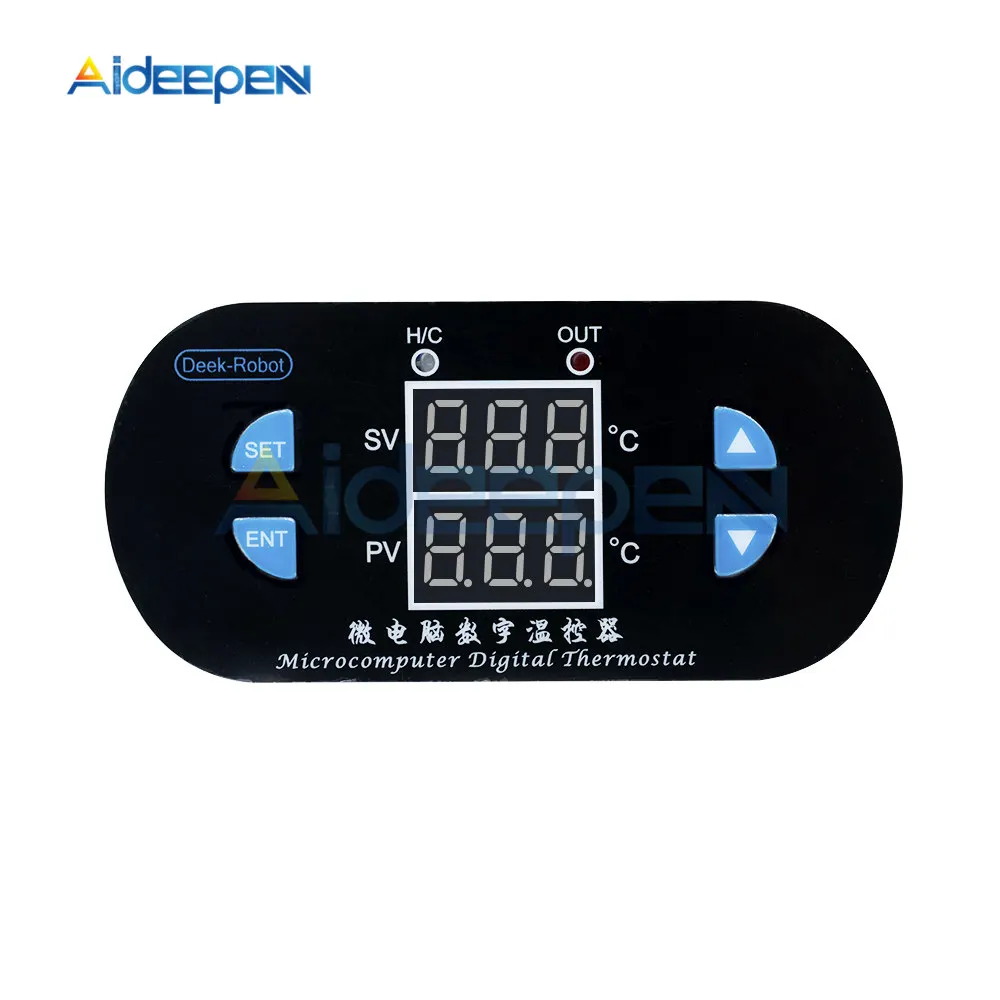
2. Setting mode, long press SET for 5 seconds will display P0 Short press SET to set H (red light) to heating mode C (green light) to cooling mode
3. Set the stop temperature, press the SET screen once. Press the up and down keys to directly set the desired temperature.
4. ENT is the confirmation button. Press and hold this button to realize the function of power on/off.
Technical Parameters:
Temperature control range: -50 to 120 ° C
Resolution: -9.9 to 99.9 hours 0.1 °C Other temperature range 1 °C
Temperature measurement accuracy: 0.2% FS
Temperature control accuracy: 0.1 °C
Refresh rate: 2 times / sec
Input power: 12V
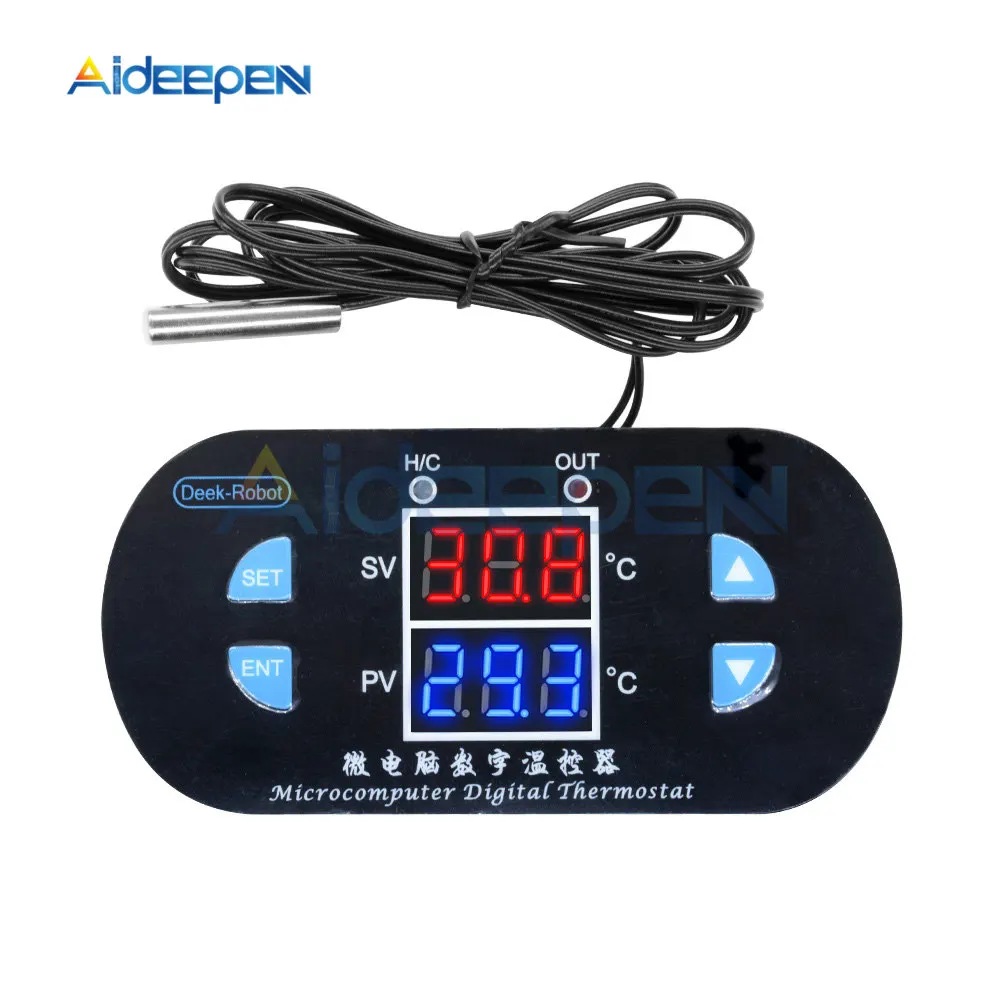
Measurement input: NTC10K (B3950) 1 meter waterproof sensor
Output type: relay output, maximum capacity 10A
Environmental requirements: -30 ~ 60 ° C humidity 20% - 85%
Machine size: 100*48*28mm
Opening size: 27*22mm
Parameter Function:
Press and hold SET for 5 seconds to enter the internal parameter setting, press the up and down keys to switch P0...P8 Press ENT to confirm the return.
| Code | Code Description | Setting range | Factory setting |
| P0 | working mode | C/H | C |
| P1 | hysteresis setting | 0.1-30 | 2 |
| P2 | limits the maximum setting | 120 | 120 |
| P3 | limited minimum setting | -50 | -50 |
| P4 | temperature correction | -10.0- +10.0 | 0 |
| P5 | delay start | 0-10 | 0 |
| P6 | high temperature alarm | -55-120 | off |
| P7 | data lock | on/off | off |
| P8 | factory reset
| on/off | off |
P0 cooling and heating mode
High temperature start for cooling mode, please set to C
Low temperature start for heating mode, please set to H
P1 hysteresis setting
In heating mode (H): measured value ≤ set value - start output heating to set value stop when returning
In cooling mode (C), when the measured value ≥ set value + hysteresis, the output cooling is started to the set value stop.
P2 limits the maximum setting (non-temperature setting)
P3 defines the lowest set value (non-temperature control setting)
P4 temperature correction
When the measured temperature deviates from the standard temperature, this function can be used to correct the corrected temperature = temperature before correction + correction value
P5 delay start time (unit: minute)
When controlling the cooling of the compressor equipment, the delay time can be set as needed. When the controller outputs, the equipment will not start immediately, and it needs to start after the set delay time.
P6 high temperature alarm
When the measured value is greater than this value, the screen is displayed -- and the sound alarm is dropped. Simultaneously disconnect the output
P7 data lock function
Turn on the data lock to keep the current settings from being changed. At this time, the setting temperature and function are invalid. If you need to modify it, you need to turn off the data frequency function.
P8 factory reset
Long press SET to switch to P8, press SET to set to on, press ENT to restore factory settings
You can also press and hold the + - button to disable the POST and restore the factory settings.
How To Use?
Please connect the power supply according to the parameters and wiring diagram, and connect the cooling or heating equipment to the output.
Enter the internal setting as needed to select the heating (into PO selection H) or cooling (into PO selection C) mode to set the temperature method, press the SET screen once, press the upper and lower to set the desired temperature, press ENT to confirm the OUT indicator of the return panel. Light: Blinking indicates cooling or heating start delay, always on indicates output
Digital tube: Display LLL for sensor open circuit: display HHH is out of measurement range, thermostat will force power off, display --- for high temperature alarm
